Images are recognized and processed by the brain in as little as 13 milliseconds. The images of products are the most crucial component for any e-commerce business to flourish, next to the actual product. For these brands should have Ideas of Product Photography.
Images have the power to make or break an online purchase. According to a Weebly poll, 75% of internet buyers concur that product photography has a significant impact on their decisions to buy. Furthermore, the reason for 22% of returns is that the things don’t look as good in pictures as they do in person.
So whether you’re selling makeup or moisturizer, slippers or sweaters, your product photography matters.
Types of Product Photography
Excellent pictures are crucial. It can be challenging to determine which product photography styles are most appropriate for your brand and company, though, because there are so many to choose from.
Three or more photographs are required for 73% of shoppers to make a selection, according to Salsify. This indicates that you can either standardize them or experiment with various product photography styles. Your options are endless, ranging from close-ups and studio product photographs to 360-degree shots. The secret is to be creative and look for methods to set your photos apart.
Keep in mind that different strategies are needed for different kinds of product photography.
For example, you may want to use a solid white background for catalog images or when trying to minimize distractions. This can also be a great choice for individual shots like a colorful dress or statement necklace, regardless of the light source.
Consequently, lifestyle photography enables clients to view your goods in use. Additionally, it’s a chance to tell the tale of your brand. These pictures are perfect for social media, email marketing, advertisements, and other visual media.
Start by Choosing the Right Background :
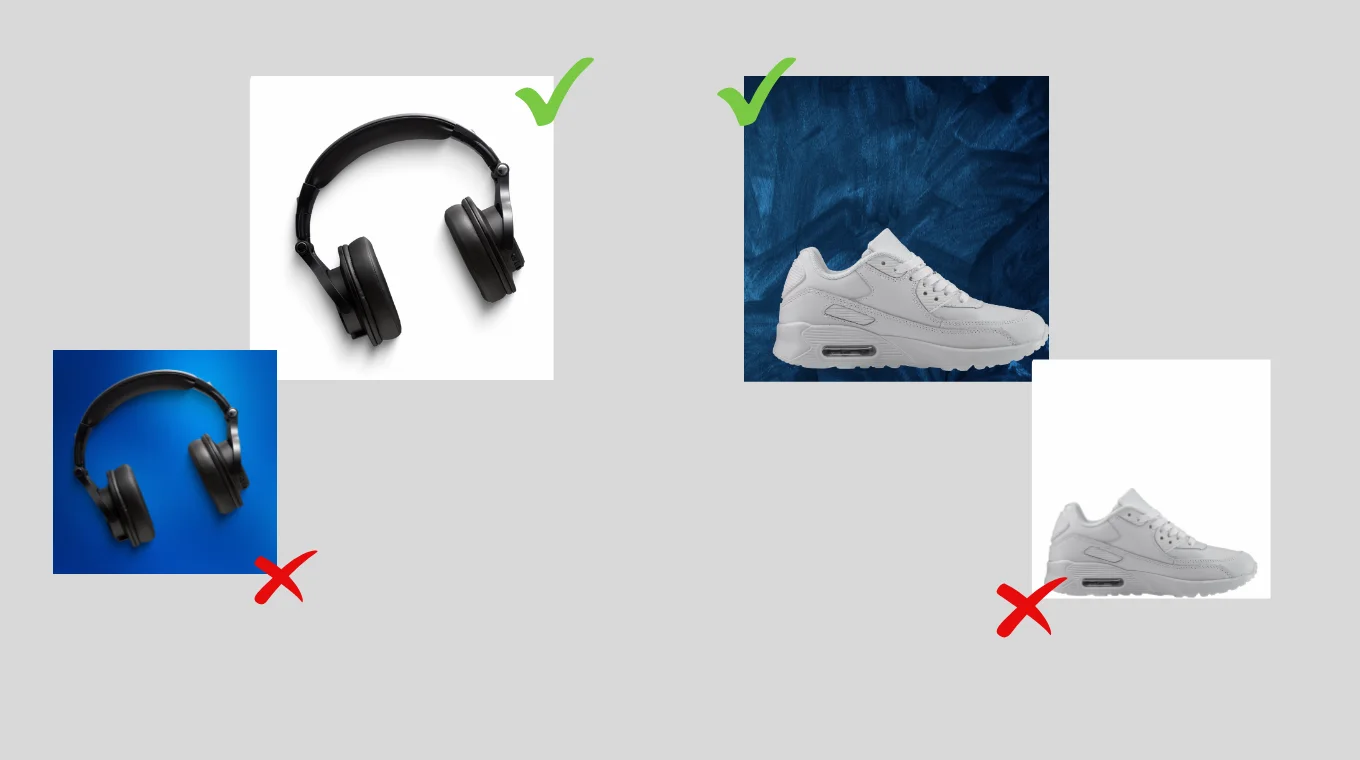
Every product shot, no matter what you’re selling, has to have a background.
You can choose to have a completely white background, which will let your goods stand out against the bright white background. Alternatively, you can choose a brand color such as pink, red, blue, or any other color of the rainbow. There are countless possibilities. The only real requirement is that your product’s details should be able to be seen clearly and not be obscured by the background.
As a result, black headphones might blend in with a deep crimson background. A pair of brand-new white shoes, however, won’t stand out against an array of white, off-white, ivory, ecru, and eggshell you get the idea.
You may quickly change the background or snap photos while the scene is being captured with apps like canva or Photoshop.
Like the pros, the application removes the background with a single button click. Finally, you can select the color you want to utilize for your photo’s background in addition to a chic backdrop composed of fabric, marble, or wood. It is that easy (and fast).
Now let’s take a closer look at the different types of product photography and the situations in which they work best.
Close-Ups:
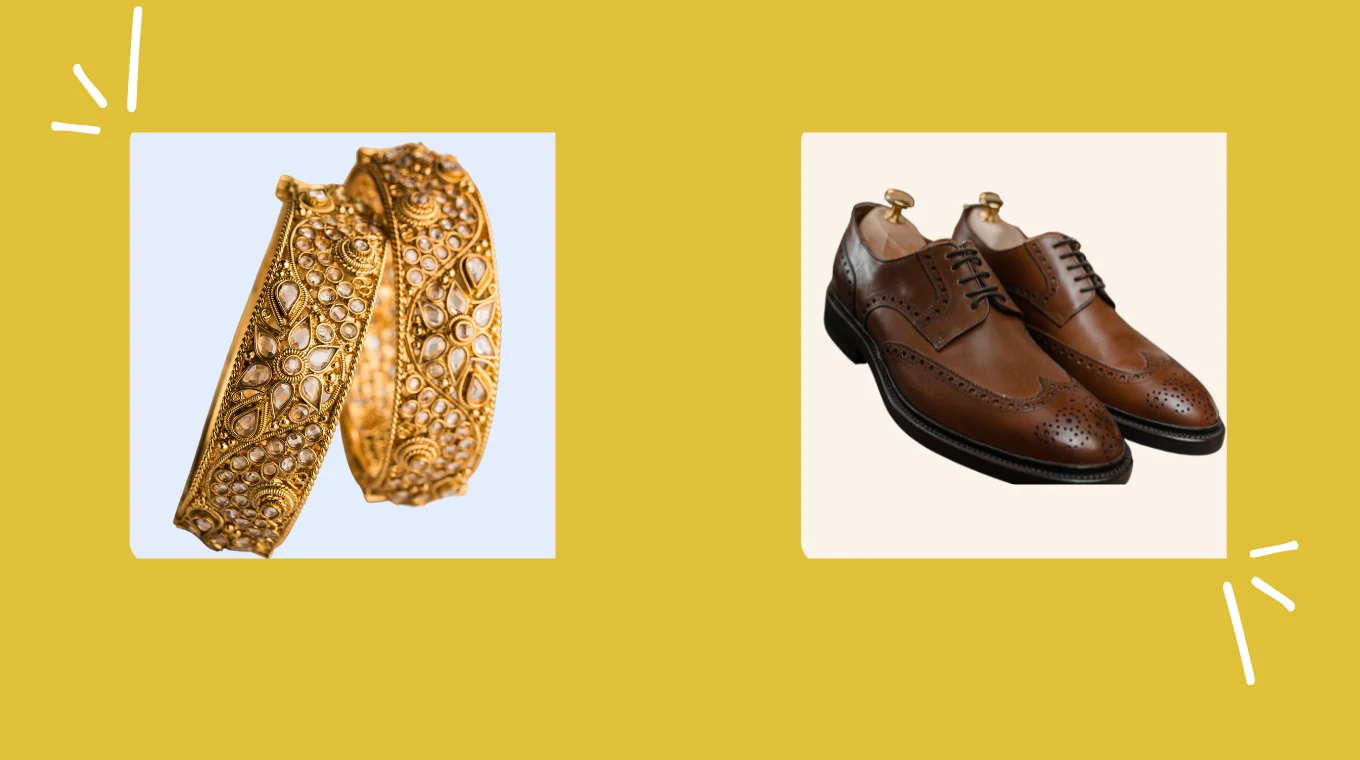
Make sure you have close-up photos of your goods if it’s the kind where the little things matter. This is particularly important if you have small items like jewellery or want to highlight the stitching details on an expensive pair of shoes.
Lifestyle Shots:

Certain products require specific photography techniques to provide context for the object. Think of the three bears and Goldilocks. Since it helps people imagine the things in real life, knowing if something is too big, too tiny, or just right can make all the difference to your shopper.
For goods where one needs to know “How big/small/tall/large/short/deep/wide is that,” contextual photographs work best. They also assist in visualizing what your life may be like if you had this item (hence, lifestyle).
. Although the dimensions specified in the description will tell you if the cup is 5″ or 20″, it can be difficult to visualize the features and contour of the mug when it is on a plain background (no pun intended). Therefore, without having to think too hard, simply observing an adult holding the mug can give you a sense of scale.
Group product photos:
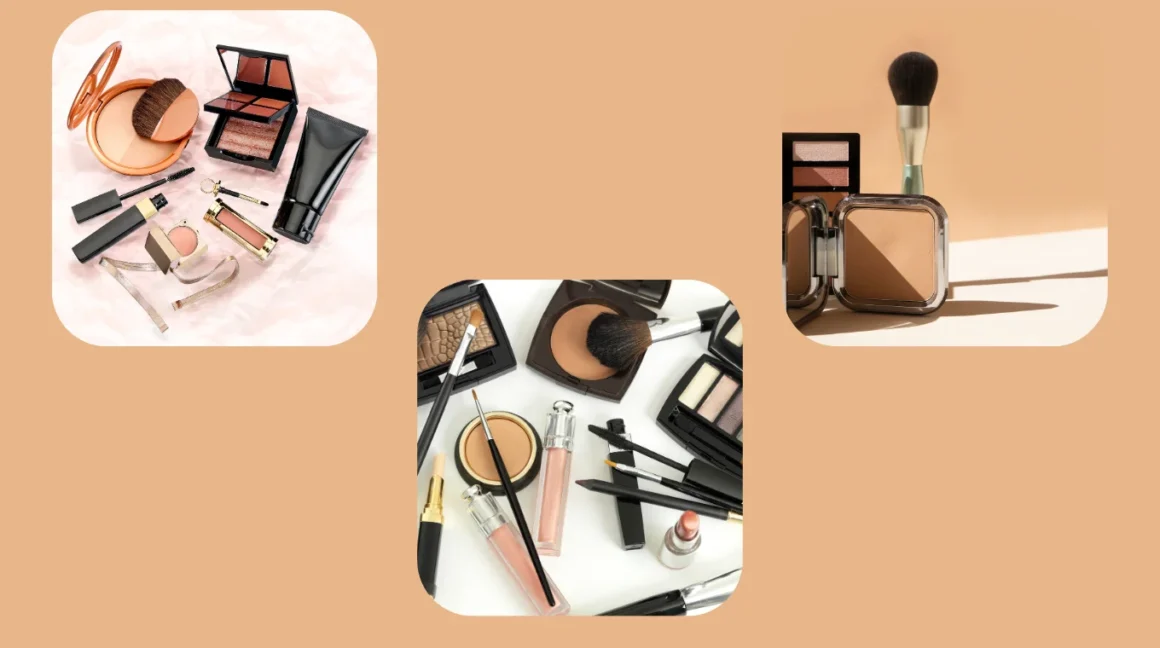
It’s possible that you are selling the same product with slightly different details, such sleeves with stitching, or in different colours. To ensure that consumers are aware of all of their options, Ideas of Product Photography you may either capture separate images of each model or combine them into a single image.
The latter strategy can reduce fees by removing the need to create extra product pages (depending on the platform used). Furthermore, it lessens clutter and facilitates potential clients’ ability to locate what they need.
Scale shots:
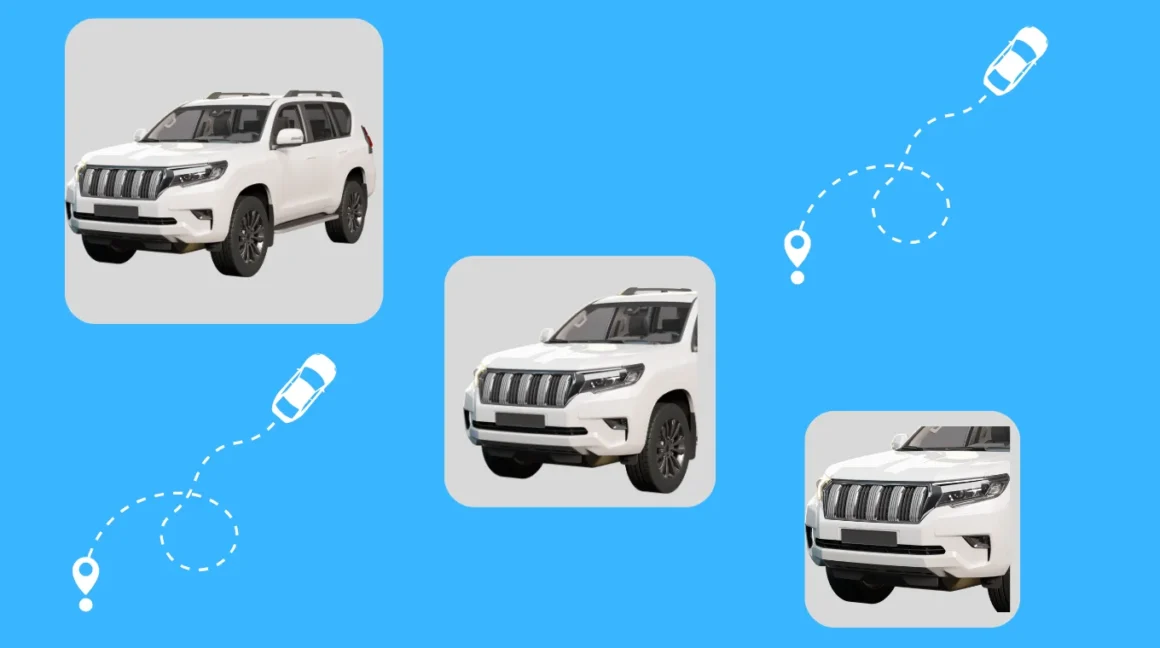
Despite the fact that most vendors include product measurements and other information, buyers sometimes overlook the description or are unable to determine the exact size of an item.
For instance, it can be challenging to gauge a backpack’s true size because of its numerous pockets and accessories. Travel bags, toys, jewellery, and other products are all subject to this.
To more accurately depict the size of your goods, you can use scale photographs, which involve placing your product next to everyday things like a laptop, book, or tennis ball.
Choose a solid background, such as white, to draw attention to the size variations between your products. Once more, you could use Photoshop for that, but Pixelcut is so much more user-friendly!
Packaging shots

For good reason, some firms, particularly those who sell luxury goods, presents, watches, or cosmetics, give careful consideration to the packaging of their products.
According to the experts you should cut the product out of the original picture and set it against a digital backdrop. Alternatively, the original background can be quickly eliminated with any editor. A background that is at least two tones brighter than your product is ideal, and the colors should coordinate.
The challenge lies in giving potential customers a “feel” of the packaging before your product gets in their hands. One option is to take packshots, or packaging shots.
From the original image, the experts at Photigy advise cutting out the product and arranging it on a digital backdrop. If you’d rather, t can quickly remove the original backdrop. Choose a background that complements your product’s color scheme and ideally has at least two tones more brightness than your product.
Read More
USE AI TOOLS TO ENHANCE YOUR SHOPIFY STORE
GETTING HELPFUL INFORMATION FROM “FAIRING”: – POST-PURCHASE SURVEYS APP
SUSTAINING COMPETITIVE ADVANTAGE OF E-COMMERCE WITH GROWAVE: LOYALTY & WISHLIST APP
BOOST YOUR SHOPIFY STORE: CONNECTING WITH SOCIAL-MEDIA
BEST E-COMMERCE PLATFORM FOR ONLINE STORE
Effective Ideas of Product Photography Your Store
Now that you are aware of the many kinds of product photography, here are some suggestions for enhancing your images. In one photo, create something Instagrammable and unforgettable (again, pun not intended).
1. Add texture to your background :
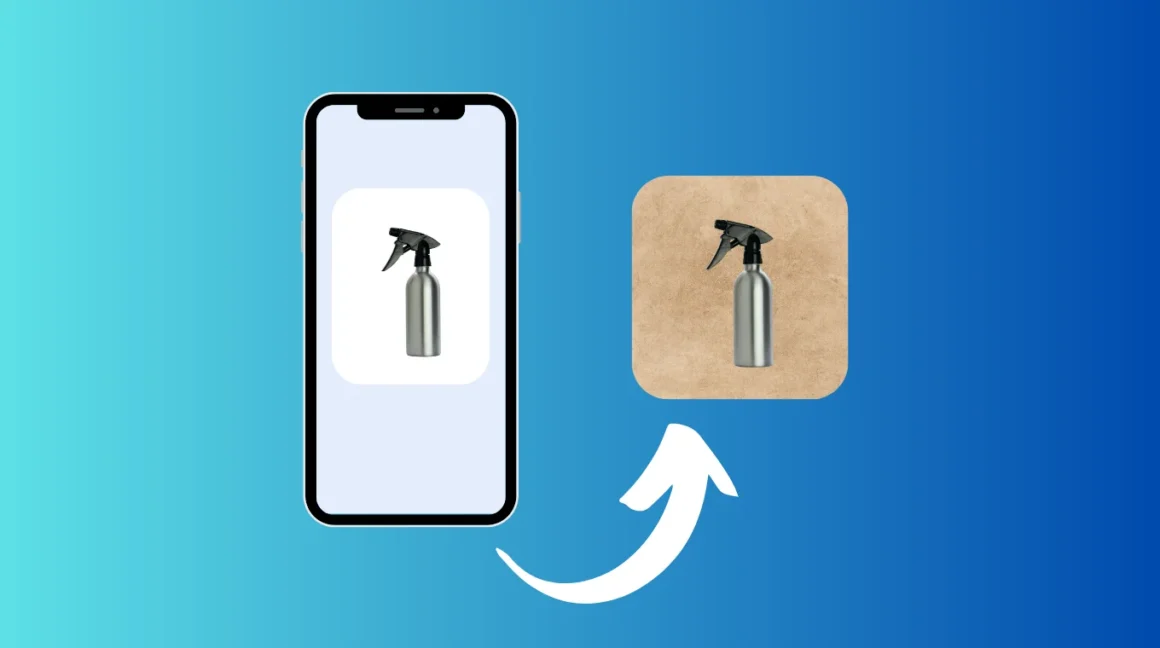
Instead of having just a plain background, you can use a textured or patterned background like marble, wood, sand, or tiles to create great product photos.
Go to update or edit the background and choose Stock Photos from the bottom tab bar instead of choosing your background colour. You can then choose the background style you wish to add. You can look through more than two million possibilities to find the ideal one to highlight your product..
2. Hang or float your products :
All consumers anticipate seeing product photos taken on a level surface. What would happen if you surprised the audience by having the product dangle from the ceiling or float above your desk? Make them ask themselves, “Whoa, how’d they do that?”
If you’re an expert Photoshop user, you can follow Dunna’s instructions.
To make your photo appear to be floating, remove the background and position it on any other background if you are not a graphic designer or expert photographer. A shadow can even be added!
3. Think outside the usual:

A set of fingers within the refrigerator. In the sock drawer: sunglasses. A milk carton in the bathroom cabinet. Since your item is unexpected, placing it in an odd setting will help bring attention to it.
You can still shoot excellent pictures and later improve their attractiveness even if you use a simple DSLR camera or smartphone.
With a lightbox, for instance, you may adjust the colours, contrast, and shadows in your photo while removing any distracting elements. According to the Nashville Film Institute, it can also facilitate the addition of special effects post-processing and optimise your productivity during the editing process.
Additionally, you can experiment with artificial light to improve specific aspects of an object, boost contrast, lessen glare, and much more. Alternatively, try experimenting with various lighting setups for photography, like loop, butterfly, split, or side lighting.
These methods might help you create more imaginative product pictures and elevate your work. Depending on how it’s used, studio lighting may either be your best friend or your worst enemy. To obtain that “wow” effect, you don’t necessary need an expensive lightroom, but it is important to learn the fundamentals and continue to practice until you get it perfect.
4. Who dis, new props?

To really make your products stand out, including props in your lifestyle and product photographs. For instance, surround a contemporary watch you’re selling with vintage timepieces to contrast the two. To make your watch stand out, you can also utilise irrelevant props, such as a desk filled with pens, notebooks, and other office materials. You may also utilise ingredients as props if you’re selling food or cosmetic items; this works incredibly well for creating an interesting product narrative.
5. Overlay text on product images:

Text surrounding the merchandise will help your images stand out. After choosing your desired photo in Pixelcut, pick “Add” and then “Draw” to get this awesome effect. To really make it distinctive, you can alter the font’s colour, style, and size.
